woensdag 28 augustus 2013

wintertime

Hi all!

An early winter page featuring the new collection from Pion Design,
 Wintertime in Swedish Lapland.

Painted and gessoed the background.
Used a template and modeling paste to make the snowflakes.


Pion papers used:
Wintertime in Swedish Lapland
Sleigh ride PD3801
Images PD3809
Borders PD3810
Tags PD3812

Enjoy your day!
Ingrid xxx

zondag 25 augustus 2013

13 arts GD projects august

Hi all!

I was so thrilled to be asked again by Aida from 13 arts as their guest designer
for august, september and october.
Here are my projects for this month.
As soon as I saw the new paints of 13 arts I fell in love!
Such beautiful colors and they are so great to work with!
Check out these paints, other 13 arts mixed media products and embellishments here


Aren't they just gorgeous!
They inspired me to make today's projects.

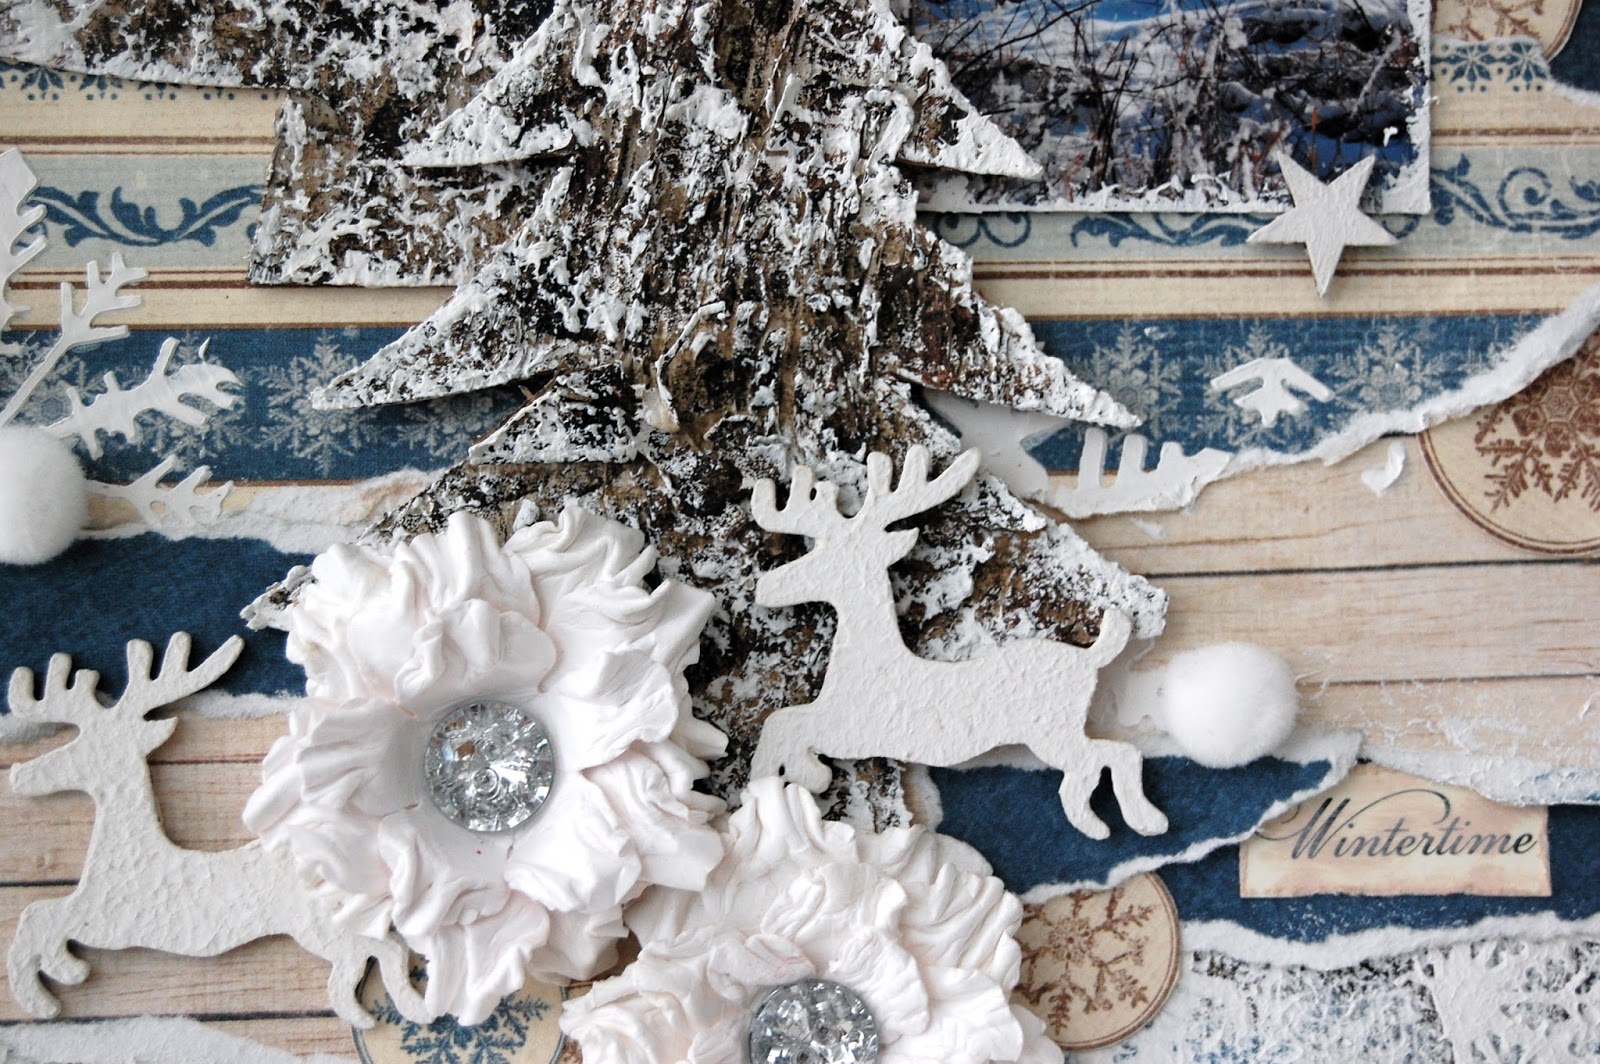
This canvas was created with almost everything from 13 arts, including all the lovely flowers, some of them were the original colors and some of them I colored them with the paints.
I randomly applied some paint for the background.
When almost dry, gave it a coat with some 13 arts gesso and let the paint colors blend together.
When still wet I made the vertical lines with the end of my paint brush.
Dried this completely before adding some 13 arts modeling paste with a template.
The 'love' letters are also painted with the paints, creating texture with the modeling paste.


The slider and the twigs are also from 13 arts.


This tea set is also totally inspired by the lovely colors of the paints.


And finally a card:

The paper love stripe comes from the All is love collection.
The beautiful metal frame, the flowers and twigs are all 13 arts.

Enjoy your day!
Ingrid xxx

maandag 5 augustus 2013

layout and buttons can

Hi all!

Today I want to share two design team projects for Pion Design,
A layout featuring little me and an altered tin can.
Both were made with the Alma's Sewing Room collection.
The tags, cut outs and border sheets are just so lovely to work with!!


And here is my second project:


Enjoy your day!
Ingrid xxx


zondag 4 augustus 2013

tutorial: leftover chipboard


Hi all!

Ever wondered what to do with all those negatives and all the little pieces of chipboard?


As a huge fan of all the chippies, I save ALL the leftovers,
 the negatives and even all the smallest pieces!
Today I want to share three different ways featuring those leftovers:
Two canvases and a card.
I made a tutorial of this canvas.

All you need for this canvas is:

All kind of negatives and little bits of chipboard
Some Imaginarium letters
Glimmermist
Paper
Gesso
Paint
Mod podge
Some flowers
Beads

Let's start with the tutorial:
 Randomly glue down some paper of your choice with Mod Podge.
Here I used the Engraver paper collection from Prima. 

Add some of the leftovers and negatives.

Give it all a coat of gesso.

Don't let all the color and paint scare you!

Tone it down with gesso.
Mmmm....maybe a bit more gesso?

Yes...this is what I had in mind!

Some details:


As a final touch I added some letters, a few flowers and some beads.


For this second canvas I didn't use the colors but added lots of flowers!


Some details:


Products used:
Prima Engraver collection
Prima flowers
Prima art tiles
Tim Holtz metal label
gesso 
mod podge
tulle
buttons

My last project is this card where I used the negative of the 9 cogs on Board 
and a small piece of the Cross Hatch.


Other products used:
Glimmermist
Gesso
Prima: clock
black and white pen
Rayher: brads


Hope you all enjoyed the tutorial and my projects!
Enjoy your day!
Ingrid xxx